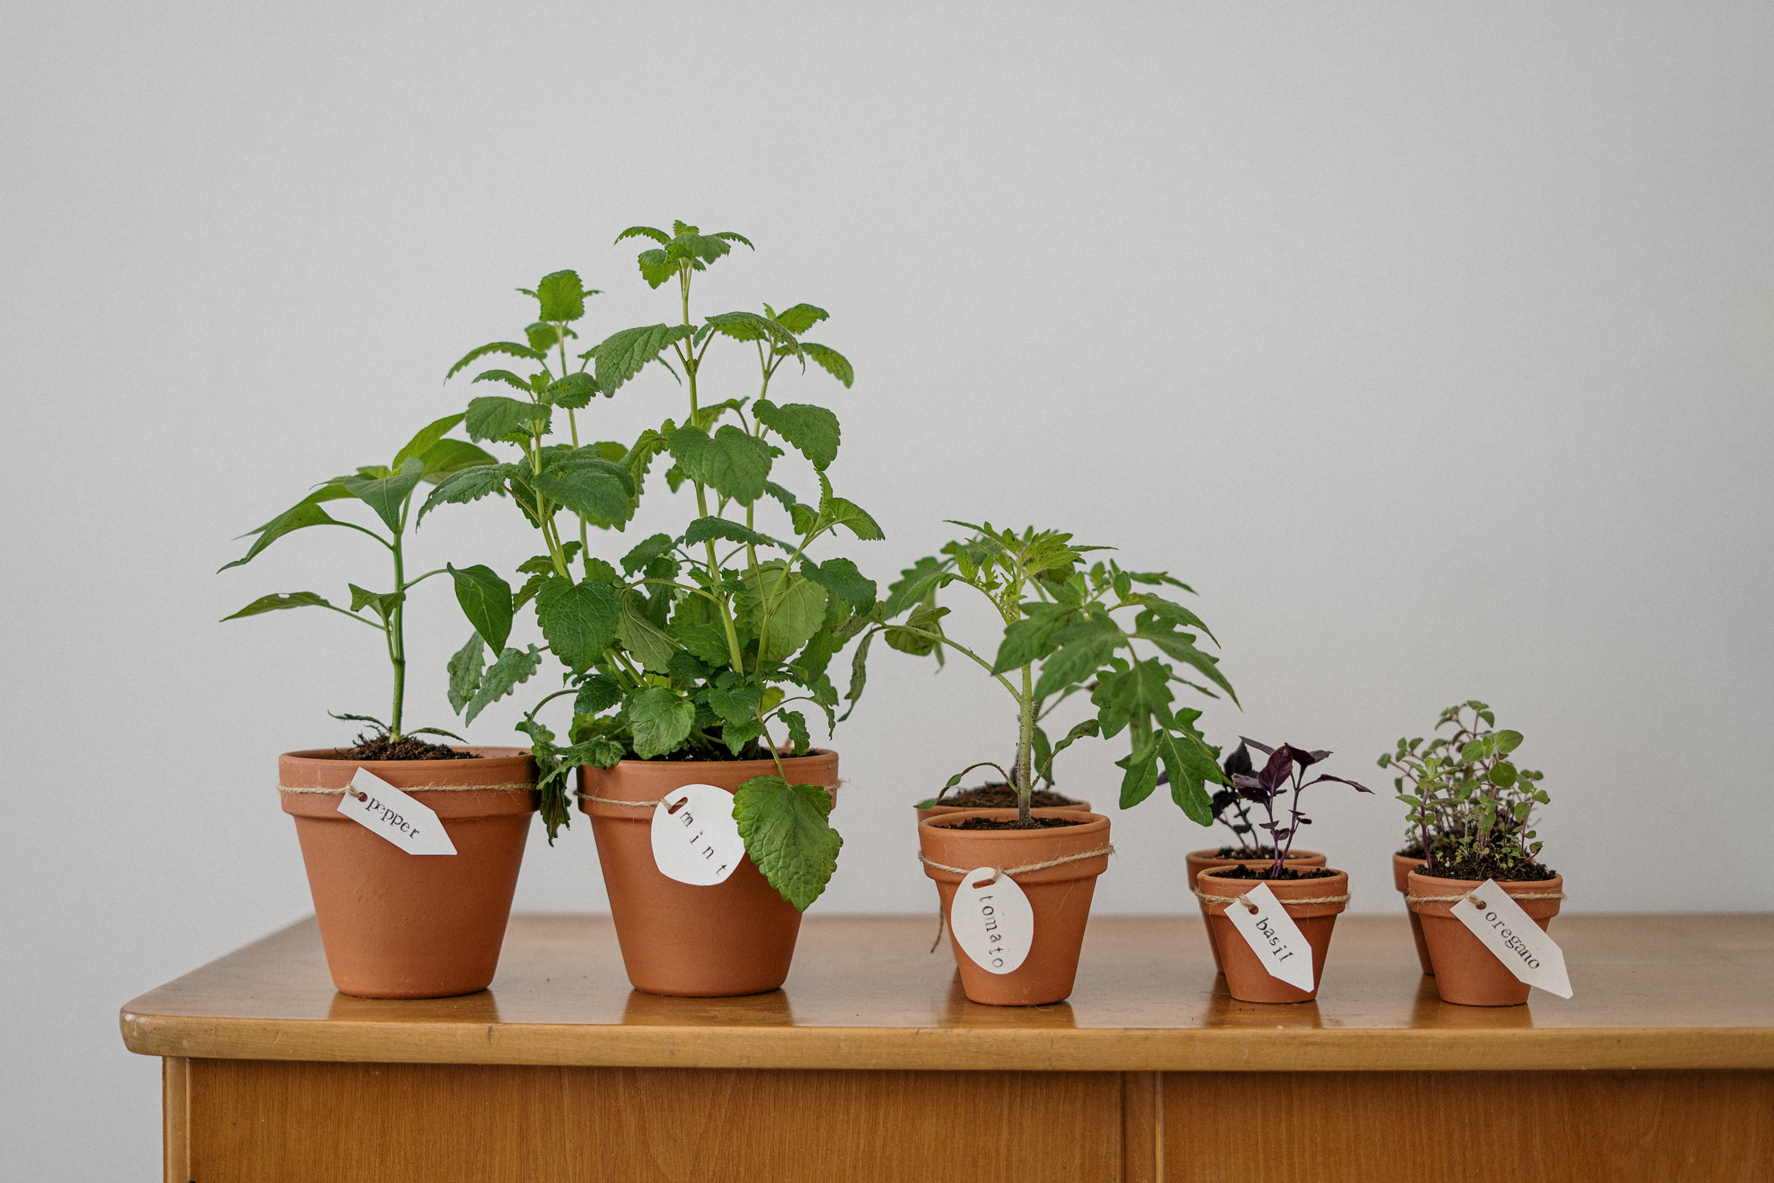
You may think that you miss out on gardening when you live in a place with no yard. Indoor gardening is one of the best ways to get your green thumb going!
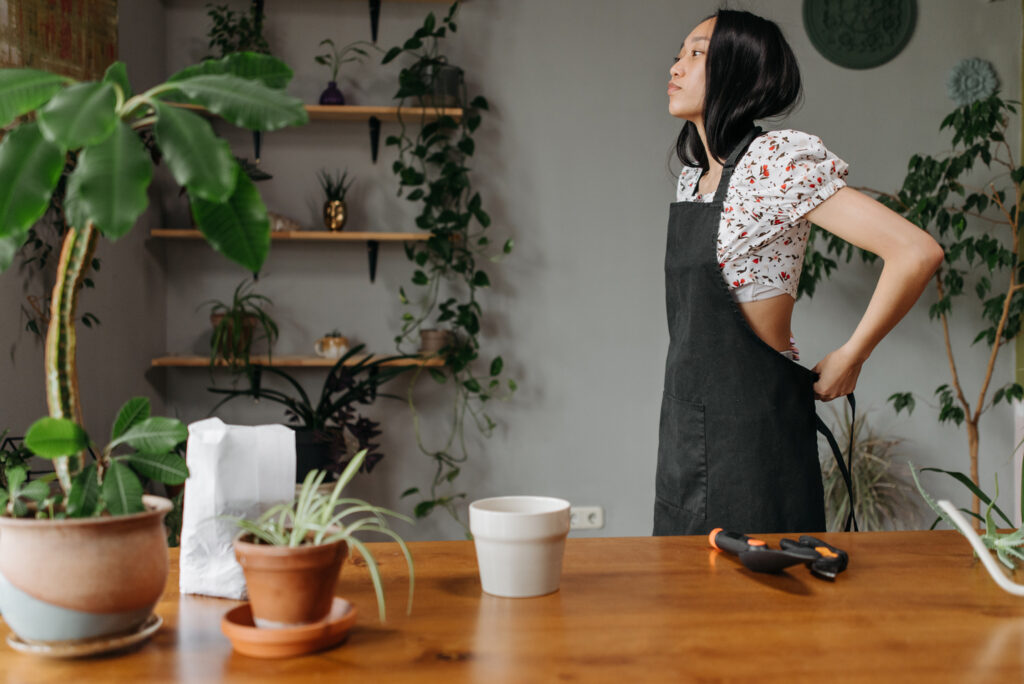
You can grow many different beautiful plants in your indoor garden! From flowers and house plants to even fruits and vegetables! If you take care of your indoor garden, it will take off beautifully. Check out our best indoor garden tips that are tried and true for the best results when it comes to your indoor garden.
Use it all, from Seeds to Scraps
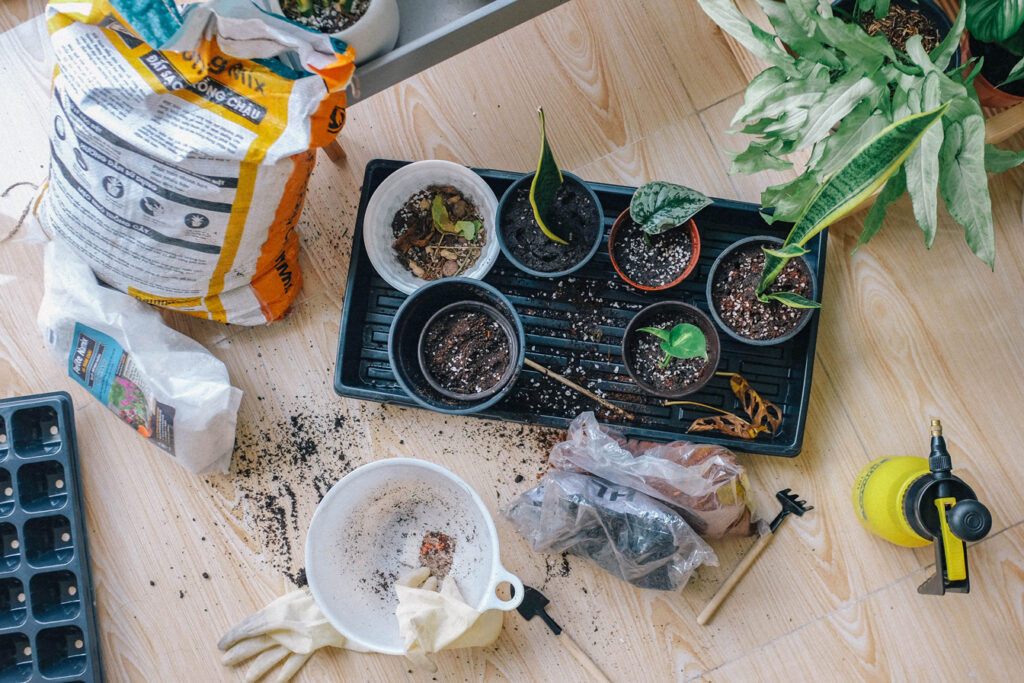
It may feel like the veggies and fruit that we cook with comes with a lot of waste. But did you know that almost every part of most foods we cook can be used in your garden? From seeds to scraps, there is no such thing as waste when it comes to the products that you cook with.
Starting Seeds Right
If you are looking to start or add to your indoor garden, look no further for starters than your fridge! You can start your plants by keeping and planting the seeds from the produce that you use throughout your day. There are a few different ways you can use the seeds; no matter which way you choose, you’ll get results with little effort and no waste.
Germinate
One way of starting your seeds is by letting them germinate. This is an easy process but can make all the difference in how your seeds start and plants take later on. This simply gives the seed a head start to grow some roots before putting it in the dirt.
To germinate, all you need is a paper towel, zipper bags, and some water. Simply cut some paper towels into small strips that will fit inside your bag. Moisten the paper towel, put one seed on one piece, and you can probably fold it over into a square. Place the paper towel with the seed into the bag and seal it.
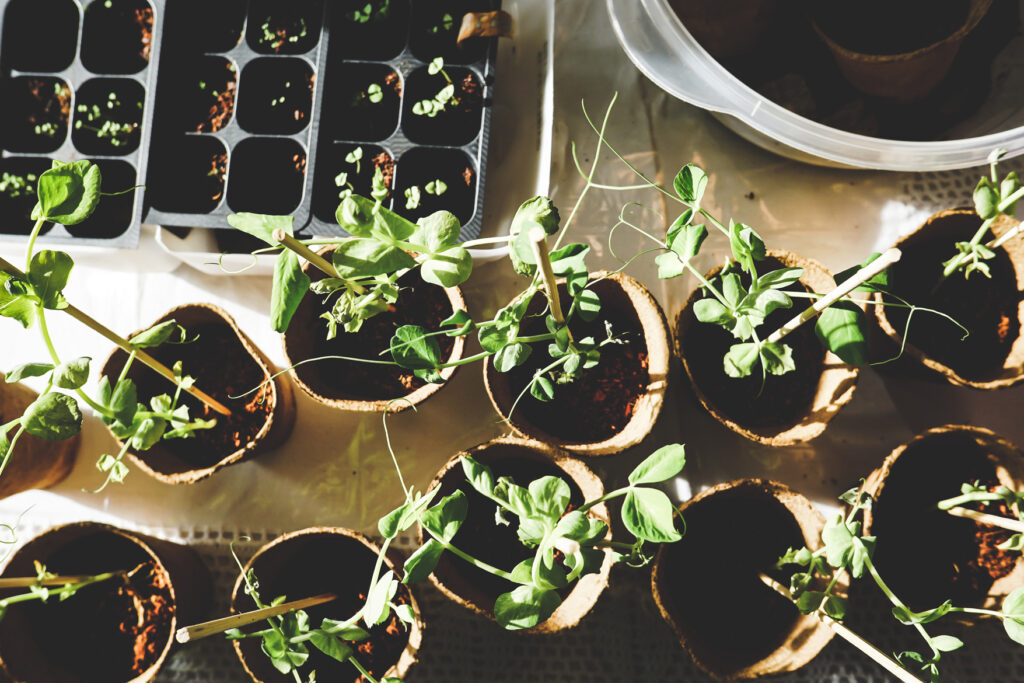
You can poke a couple of small air holes, but you will get results without. Make sure you keep checking the paper towel daily to ensure it hasn’t gone dry; you want to keep the paper towel wet. Within a few days to a week (longer depending on what seed you are planting), roots will appear out of the middle of the seed.
You can now plant this germinated seed in dirt and let the plant grow. It is a good idea to germinate because it makes it easier for the seed to get nutrients and moisture from the dirt once it is planted, since the roots are already exposed, rather than waiting for the seed to open planted in dirt.
Plant Seeds Directly
If you don’t want to or are unable to germinate your seeds, you can plant them directly into the dirt and skip the germination process. You don’t have to germinate every seed; most of the seeds you will be planting from your kitchen can be planted directly into the dirt and can do just as well as if you had germinated them.
All you have to do is prepare the container where you will be planting or starting the seeds ready with dirt and fertilizer. Place the seeds either into a separate container, or if you are planting more than one together, make sure you space them out to give their roots room to grow. Once the seeds are placed on top of the dirt, you can either cover them with some more dirt or lightly press them into the dirt.
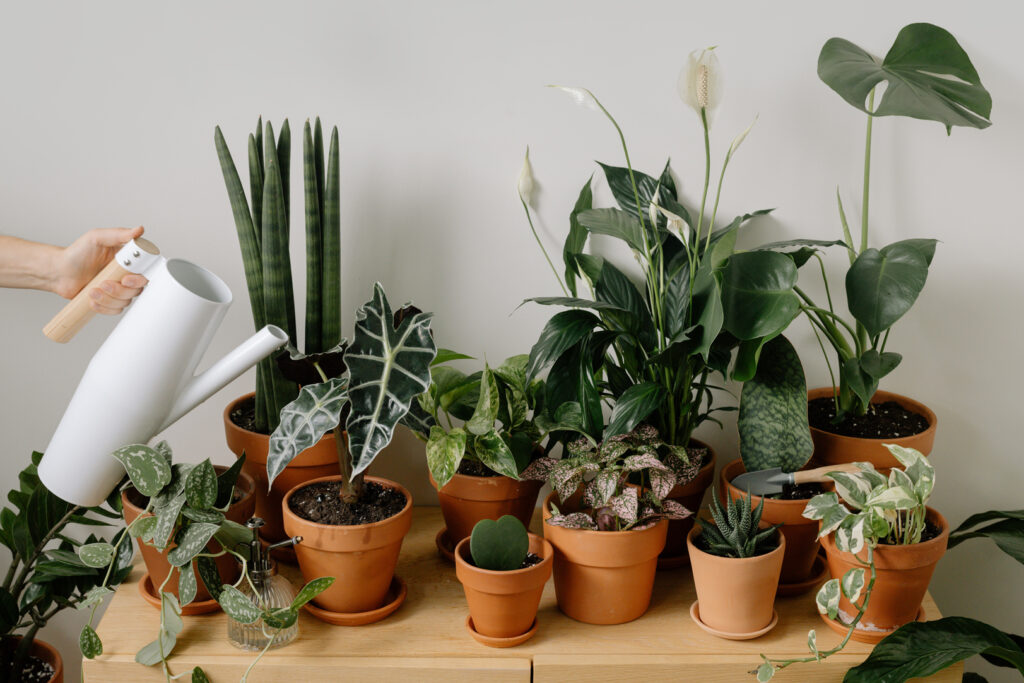
You want to make sure that you are careful to keep the seeds wet while they are just starting this way as well, especially if you are skipping the germination process.
Make sure that until you start to see the growth, you want to keep either your germinated seeds or starters wet to help the root grow through the seed shell. You can do this with a spray bottle of water and spray the paper towel squares and the dirt when they start to dry out.
Regrowing Herbs
Another great thing that you can use to regrow is the stems from your fresh herbs! Many herbs that we grow and only use the leaf of, such as mint, sage, basil, and many more, can regrow roots from where the leaves and stamps are picked off of.
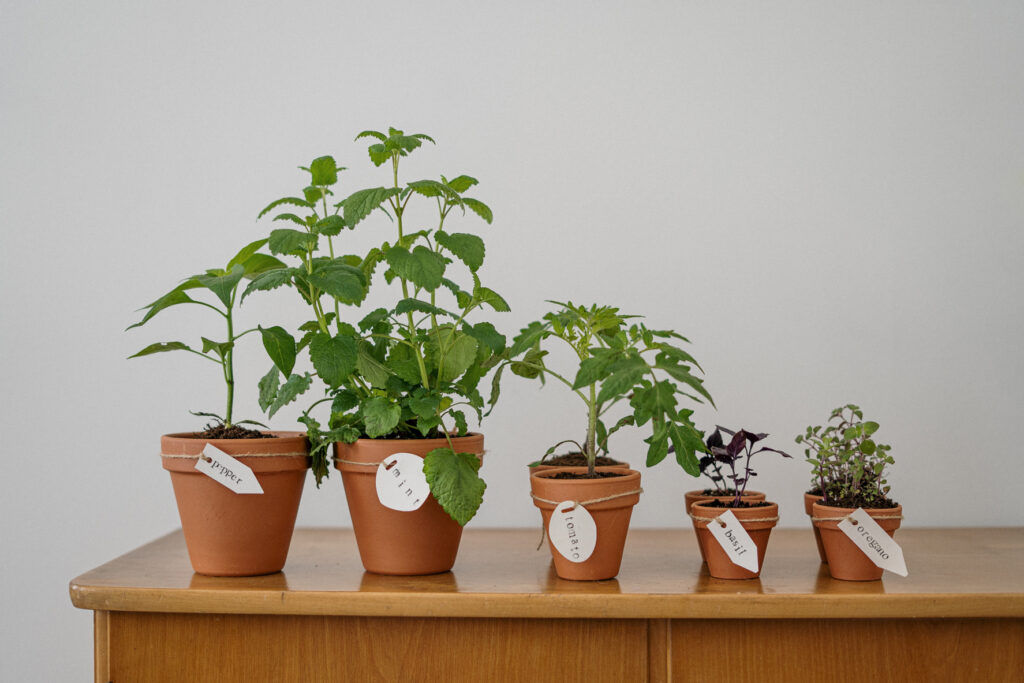
All you have to do is cut off the leaves/ stems at the bottom of one stem or piece and place it in water. Anywhere from one to three weeks, you will start to see roots coming from where the leaves were plucked, and stems were cut off. Once the roots are long and strong enough, you can plant them and enjoy the new addition to your indoor garden!
Home Made Fertilizer & Compost
Use the rest of the scraps from your kitchen to make your fertilizers and compost to help your plants thrive and save on eliminating food waste. Things like eggshells, used coffee grounds, vegetables, fruit peels, and much more can be used to help the rest of your indoor garden thrive!
Home Made Fertilizer
DIY Compost
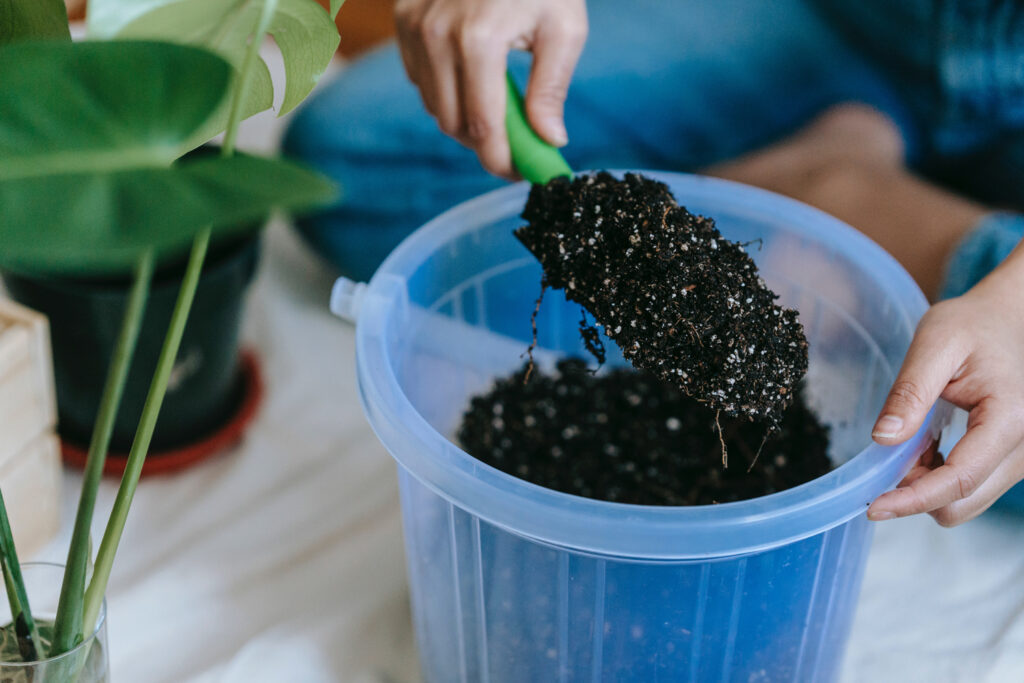
One of the things that I noticed worked best with my indoor garden was using the scraps of my food as compost for later planting purposes. All you have to do is take a bag of soil that reseals (or a container) and continue to throw scraps from your fruits and veggies in with the dirt.
Down the road, when you are ready to plant more or transplant what you have started, you will have beautiful soft nutrient-loaded soil that your plants will love.
Egg Shells and Coffee Grounds
One of the easiest fertilizers to make is from eggshells and coffee grounds. Simply mix your used coffee grounds and eggshells (instead of throwing them in the garbage anyway) and use this as a fertilizer for your indoor garden. This is a great combination because it helps give them calcium and nitrogen, two things that are essential to giving any plant a healthy boost.
Banana Tea, Anyone?
Another common kitchen scrap that is loaded with nutrients for your garden is banana peels! You can use banana peels as a fertilizer in a few ways. If you have a compost bag going, you can add it to that, or you can make your fertilizer to give your garden a direct boost of potassium, which goes great with the nitrogen and calcium they had from the rest of your breakfast.
There are a variety of ways out there to make this fertilizer, commonly called banana tea. The easiest way to do this is by making it in a jar. Collect about 3-5 banana peels, depending on the size of your jar; fill the jar with water, seal, and wait. After a few days to about a week, you can remove the banana peels and use the water to water your plants.
Lighting
One of the biggest struggles with indoor gardens usually is the lack of natural lighting available. Light is an essential part of your indoor garden’s success, so if you can, try to keep them near the window or choose low-light plants to grow.
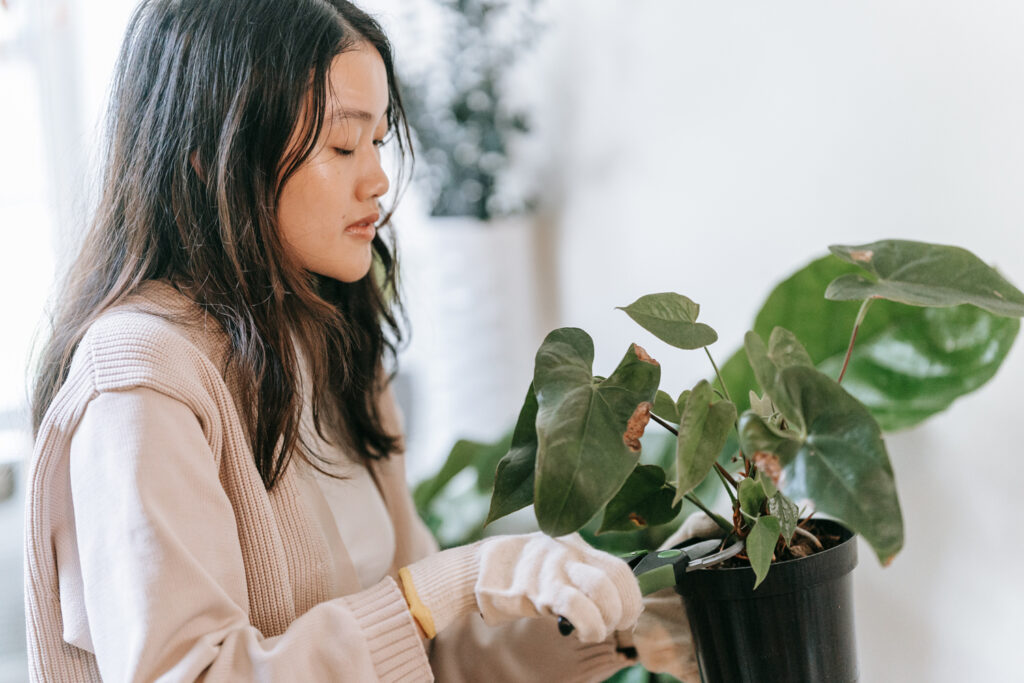
One thing you can do for your plants, especially when they are just starting, is to get them a “grow bulb.” You can get these almost anywhere, dollar stores, hardware stores, and of course, nurseries. This is a bulb or set of bulbs that you put in a designated lamp or light fixture that gives off the proper waves that most plants need.
Pay Attention To Your Gardens Needs
When it comes to our plants, overfeeding and watering our plants is one of the easiest mistakes to make. It can feel like we are doing something wrong when our plants don’t need any fertilizer or water, but when it comes to caring for your garden, less is more.
If you pay attention to the soil of your garden and the leaves of your plants, you will come to learn when you need to feed and water them. If the top layer of soil is still moist for most plants, you don’t need to water it yet; wait until it has dried out a little. Make sure not to overwater your plants, especially sensitive ones such as succulents and cacti.
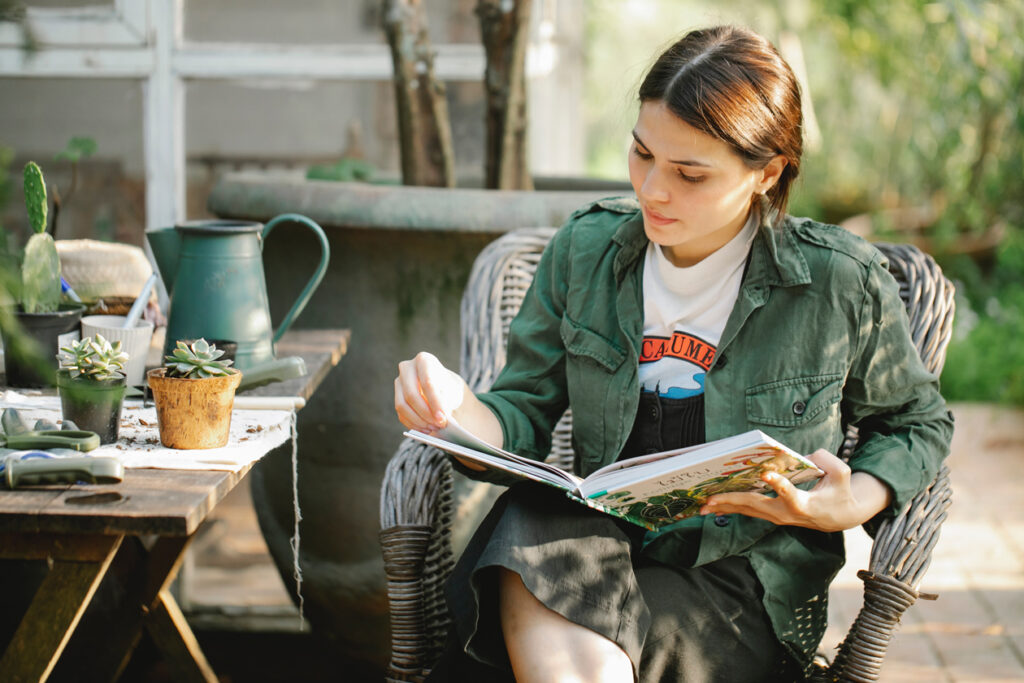
It is just as easy to over-fertilize as it is to overfeed. Pay attention to the leaves and stems of your plants; they will tell you if they have had too much or not enough. When it comes to fertilizer when we are recycling our scraps, it is easy for us to overdo it, and you want to be careful that you are paying attention to how much you are feeding them.
Overfeeding can cause discoloration and other issues to appear on your plants’ leaves.
Your indoor garden will now not only be as easy as ever, but your plants will grow and thrive more than you dreamed they could if you start to include these great tips in your home gardening routine. Don’t just take our word for it. You will see for yourself in no time!
